Cleaning window screens with a Magic Eraser can be a quick and effective way to remove dirt, dust, and grime. Magic Erasers are versatile cleaning tools that work well on a variety of surfaces, including window screens. Here’s a step-by-step guide to effortlessly clean your window screens with a Magic Eraser:
Materials You’ll Need:
- Magic Eraser sponge
- A bucket of warm water
- Mild dish soap (optional)
- Soft-bristle brush (optional)
- Microfiber cloth or paper towels
Step 1: Preparation
Start by removing the window screens from their frames if possible. Lay them on a clean, flat surface, like a large table or on the ground, covered with a tarp or old sheet to catch any debris that may fall off during cleaning. If removing the screens is not an option, you can clean them in place, but it may be a bit more challenging.
Step 2: Wet the Magic Eraser
Dip the Magic Eraser sponge in a bucket of warm water. You can add a small amount of mild dish soap to the water if the screens are particularly dirty. Squeeze out excess water so the sponge is damp but not dripping.
Step 3: Gently Scrub the Screens
Use the damp Magic Eraser to gently scrub the window screens. Start at one corner and work your way across, applying light to moderate pressure as needed to remove dirt and grime. Be cautious not to use too much force, especially if your screens are delicate or old, as excessive pressure could damage them.
Step 4: Pay Attention to Stubborn Stains
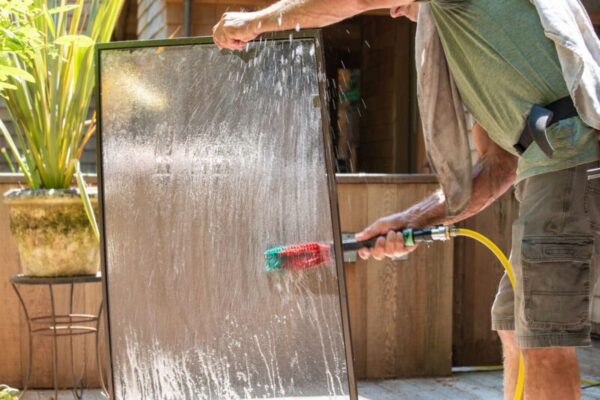
For stubborn stains or spots, you can apply a bit more pressure or use a soft-bristle brush in conjunction with the Magic Eraser. Make sure the brush is gentle enough not to damage the screen material.
Step 5: Rinse and Wipe
Once you’ve cleaned the screens, rinse them thoroughly with clean water to remove any remaining residue from the Magic Eraser. You can either rinse them in a bathtub or with a hose outdoors. Make sure all the soap and dirt are washed away.
Step 6: Dry the Screens
Gently shake off excess water and allow the screens to air dry completely. It’s essential to ensure they are fully dry before reinstalling them to prevent mold or mildew growth.
Step 7: Reinstall the Screens
Carefully reattach the clean, dry window screens to their frames. Make sure they are secure and fit snugly in place.
Step 8: Optional Final Touch
For an extra touch, you can use a microfiber cloth or paper towels to wipe down the window frames and sills to ensure a clean, polished look.
Cleaning your window screens with a Magic Eraser can be an efficient way to restore their appearance and maintain a clear view. Remember to perform this cleaning task regularly to prevent the build-up of dirt and grime, especially in high-traffic areas or during pollen season.