Introduction
A well-manicured lawn enhances the beauty of any property, creating a welcoming atmosphere and boosting its curb appeal. While the traditional striped or crisscross patterns are common, there’s a unique and visually appealing alternative that can make your lawn stand out – the checkerboard pattern. Mowing your lawn in a checkerboard pattern adds a touch of sophistication and creativity to your outdoor space. In this comprehensive guide, we will delve into the art of mowing checkerboard patterns, exploring the techniques, tools, and tips you need to achieve a flawless result.
Understanding the Basics
- Why Choose a Checkerboard Pattern?
- Visual Appeal: Checkerboard patterns add a timeless elegance to your lawn, creating a striking contrast between the alternating light and dark squares.
- Unique Design: Unlike traditional patterns, checkerboards offer a unique and eye-catching design that can make your lawn the envy of the neighborhood.
- Versatility: Checkerboard patterns work well for various lawn sizes and shapes, making them a versatile choice for homeowners.
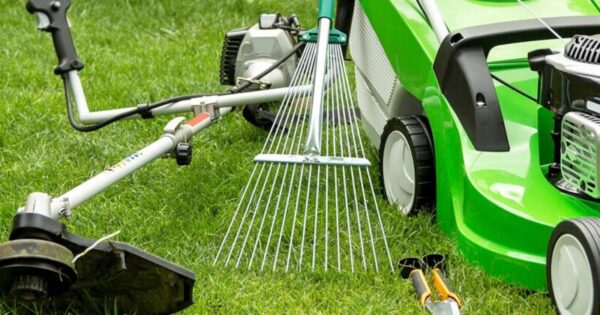
- Essential Tools and Equipment
- High-Quality Lawn Mower: Invest in a reliable lawn mower with adjustable cutting heights to achieve the desired checkerboard effect.
- Measuring Tools: Accurate measurements are crucial. A measuring tape or long ruler can help you mark the squares evenly.
- Lawn Roller: A lawn roller can flatten the ground, ensuring a smooth surface for mowing the checkerboard pattern.
Preparing Your Lawn
- Measuring and Marking
- Measure Your Lawn: Calculate the dimensions of your lawn to determine the size of the squares. Common sizes range from 2 feet by 2 feet to 4 feet by 4 feet, depending on your lawn’s size and the visual effect you desire.
- Marking the Squares: Use stakes, strings, or spray paint to mark the corners of each square. Ensure the lines are straight and evenly spaced for a professional finish.
- Preparing the Lawn
- Clear Debris: Remove any debris, rocks, or obstacles from the lawn surface to prevent interference with the mower.
- Lawn Mowing Height: Set your mower to the appropriate cutting height. For checkerboard patterns, a slightly taller grass height enhances the contrast between light and dark squares.
Mowing Techniques
- Mowing in Rows
- Start at the Edge: Begin mowing along the outer edges of your lawn, following the marked lines of the first row of squares.
- Alternate Directions: For the next row, mow in the opposite direction, ensuring that the mower blades overlap the previously mowed area slightly.
- Repeat the Process: Continue alternating the direction of mowing until the entire lawn is covered. Take your time to maintain the straight lines and even squares.
- Fine-Tuning the Pattern
- Trimming the Edges: After completing the main pattern, use a string trimmer or lawn edger to define the edges of the checkerboard. This step provides a polished look and sharpens the contrast between the squares.
- Adjusting Square Sizes: If you find any inconsistencies in square sizes, make minor adjustments as needed. Precision is key to achieving a professional-looking checkerboard pattern.
Maintenance and Tips
- Regular Lawn Care
- Regular Mowing: Maintain the checkerboard pattern by mowing your lawn regularly. Frequent mowing ensures the pattern remains distinct and visually appealing.
- Proper Watering and Fertilization: Water your lawn deeply and fertilize it as needed to promote healthy grass growth. A lush, well-nourished lawn enhances the checkerboard effect.
- Seasonal Considerations
- Adjusting the Pattern: In different seasons, you can experiment with the checkerboard pattern. For example, in spring, you might opt for a tighter pattern, while in summer, a larger pattern could provide a cooler feel.
- Dealing with Grass Varieties: Different grass varieties have varying growth rates. Adjust your mowing frequency based on the type of grass in your lawn to maintain the checkerboard pattern consistently.
- Tips for Challenging Areas
- Sloped Lawns: If your lawn has slopes, be mindful of the mower’s stability. Consider mowing the checkerboard pattern horizontally on slopes to prevent accidents and ensure safety.
- Irregularly Shaped Lawns: For irregularly shaped lawns, adjust the size and orientation of the squares to fit the available space while maintaining a balanced look.
Conclusion
Mowing your lawn in a checkerboard pattern is a delightful way to add character and elegance to your outdoor space. By understanding the basics, mastering the techniques, and following proper maintenance, you can achieve a visually stunning checkerboard pattern that will impress your guests and neighbors alike. Embrace creativity, attention to detail, and a bit of patience, and transform your lawn into a work of art that reflects your unique style and personality. So, grab your mower, start measuring, and get ready to enjoy the beauty of a checkerboard-patterned lawn that will be the talk of the town. Happy mowing!