Mastering the art of measuring the rough opening height for interior doors is a crucial skill for anyone involved in home improvement, construction, or interior design. Accurate measurements ensure that the door will fit properly and operate smoothly. Here’s a step-by-step guide to help you master this skill:
Tools and Materials:
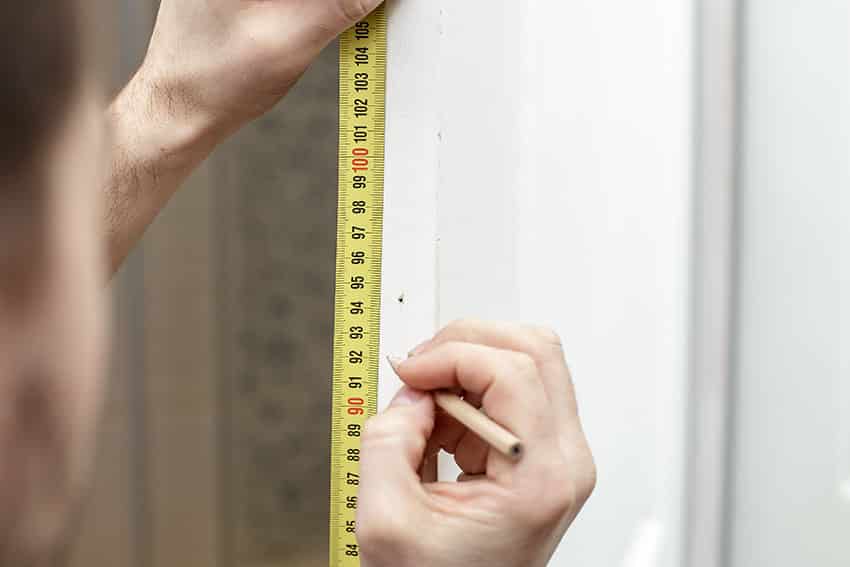
- Measuring tape: A reliable tape measure with clear markings is essential.
- Pencil: To mark your measurements.
- Paper: For recording measurements.
- Level: To ensure your measurements are plumb.
Step 1: Remove the Old Door (If Applicable) If you’re replacing an existing door, start by removing it from the frame. This will give you clear access to the rough opening.
Step 2: Measure the Width of the Rough Opening Begin by measuring the width of the rough opening between the two side jambs. To do this:
- Place your tape measure at the top of the opening.
- Extend it down to the floor.
- Record the measurement to the nearest 1/16 inch (or millimeter, if you prefer metric units).
Remember to measure at multiple points both horizontally and vertically, as openings may not always be perfectly square. Use the smallest measurement to ensure a snug fit for the door.
Step 3: Measure the Height of the Rough Opening
Measuring the height of the rough opening correctly is critical to ensure the door fits well. To measure the height:
- Place your tape measure at the left or right side of the rough opening, near the floor.
- Extend it upward until it reaches the top of the opening.
- Record the measurement to the nearest 1/16 inch (or millimeter).
Again, measure at multiple points along the height of the opening, as floors and ceilings may not always be perfectly level.
Step 4: Check for Plumb
Use a level to ensure that both sides of the rough opening are plumb (perfectly vertical). If they are not, you may need to make adjustments to the door frame or shims during installation to accommodate any out-of-plumb conditions.
Step 5: Consider Door Swing
Determine the swing direction of your door (inward or outward) and which side the hinges will be on. This information will help you orient the door correctly during installation.
Step 6: Record and Double-Check Measurements Record your measurements on a piece of paper, and double-check them for accuracy. It’s always a good practice to confirm your measurements at least twice to avoid costly mistakes.
Step 7: Select the Right Door Size
Based on your measurements, select a pre-hung door that matches the rough opening dimensions as closely as possible. If you’re installing a slab door, you’ll need to trim it to fit the opening.
Step 8: Installation
Follow the manufacturer’s instructions for installing the door, making any necessary adjustments for plumb, level, and ensuring that it swings in the correct direction.
By mastering the art of measuring interior door rough openings accurately, you’ll ensure a proper fit and a smooth installation process for your interior doors. Always remember to take your time and measure twice to minimize errors.