When it comes to enhancing the curb appeal of your lawn, few techniques make as striking an impact as checkerboard patterns. These meticulously crafted designs not only add visual interest but also showcase your dedication to maintaining a beautiful outdoor space. Achieving the perfect checkerboard pattern, however, requires more than just mowing your lawn in different directions. In this comprehensive guide, we will delve into the secrets behind creating flawless checkerboard patterns in your grass.
1. The Right Tools for the Job
To achieve a pristine checkerboard pattern, you need the right tools. Start with a high-quality lawn mower that allows you to adjust the cutting height precisely. Additionally, investing in a striping kit or a roller attachment for your mower will help create defined lines on your lawn. These tools help to bend the grass blades in opposite directions, creating the characteristic light and dark stripes of a checkerboard pattern.
2. Choosing the Right Grass
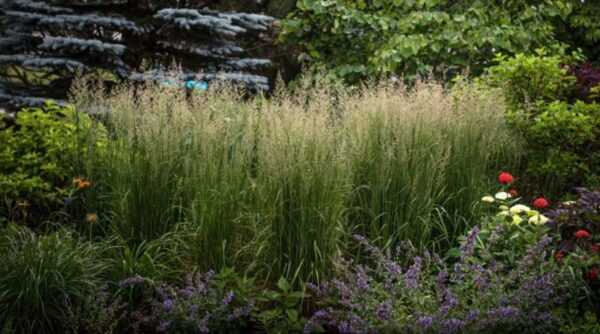
Not all grass varieties are created equal when it comes to achieving checkerboard patterns. Fine-bladed grasses such as Kentucky bluegrass and Bermuda grass respond exceptionally well to striping techniques. These grass types have a natural tendency to bend and reflect light differently, enhancing the contrast between the striped sections.
3. Mowing Techniques
Achieving a checkerboard pattern involves strategic mowing techniques. Begin by mowing your entire lawn in one direction, creating a smooth canvas. Then, mow the lawn perpendicular to your initial mowing direction, bending the grass blades in the opposite direction. This creates the first set of stripes. For the checkerboard effect, mow the lawn a third time at a 45-degree angle to the existing stripes, bending the grass in a crisscross pattern. This meticulous approach ensures a sharp and professional-looking checkerboard design.
4. Maintaining Consistent Grass Height
Consistency in grass height is crucial for a flawless checkerboard pattern. Set your mower at an appropriate height for your grass type and ensure that it remains consistent throughout the mowing process. Uneven grass can disrupt the pattern, making it look less uniform and polished.
5. Proper Lawn Care Practices
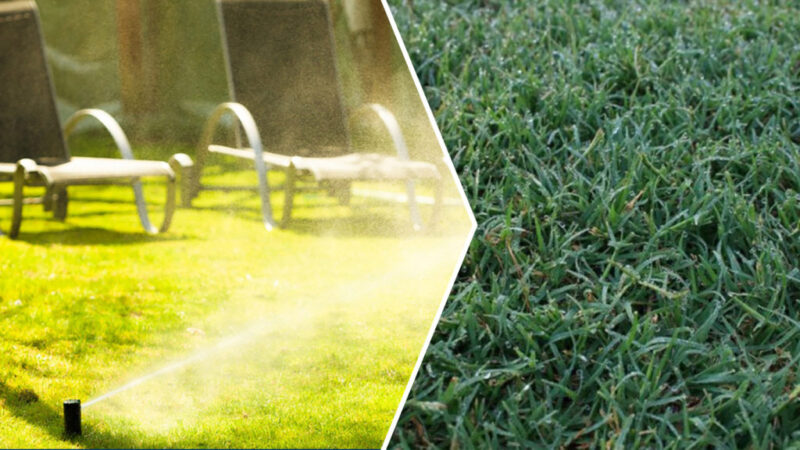
A well-maintained lawn is more responsive to striping techniques. Regular watering, fertilizing, and aeration are essential practices that promote healthy grass growth. Proper lawn care not only enhances the overall appearance of your lawn but also provides the ideal conditions for creating defined checkerboard patterns.
6. Attention to Detail
Achieving perfection in your checkerboard pattern requires attention to detail. Pay close attention to the edges of your lawn, ensuring that the stripes reach all the way to the border. Use a string trimmer or lawn edger to refine the edges, giving your checkerboard pattern a polished and professional look.
7. Creative Variations
Once you’ve mastered the classic checkerboard pattern, consider experimenting with creative variations. Diagonal checkerboard patterns, concentric squares, or even incorporating different grass species for contrasting colors can elevate the visual appeal of your lawn. Let your creativity shine and turn your outdoor space into a canvas for artistic expression.
Conclusion
Creating perfect checkerboard patterns in your grass is a combination of the right tools, techniques, and attention to detail. With the proper equipment, consistent lawn care, and a passion for perfection, you can transform your lawn into a work of art. Whether you opt for a classic checkerboard design or experiment with creative variations, the key lies in patience and dedication. Embrace the process, enjoy the journey, and revel in the beauty of your meticulously crafted checkerboard lawn.