Introduction
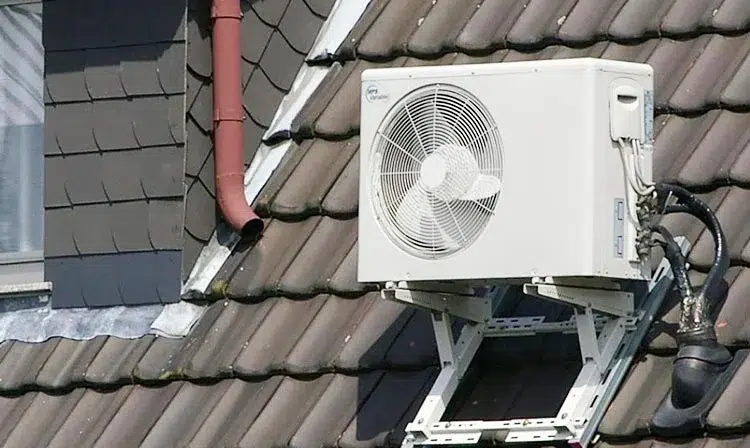
When it comes to optimizing your living space for comfort, efficiency, and aesthetics, installing a mini-split air conditioning system on your roof can be a game-changer. This comprehensive guide will walk you through the essential steps and provide valuable insights to ensure a safe and successful installation process.
Assessing the Viability of Roof Installation
Understanding Your Roof Structure
Before diving into the installation process, it’s crucial to assess your roof’s structural integrity. A thorough examination will help you determine if it can support the weight and vibrations associated with a mini-split system. Consult with a structural engineer if needed, ensuring the long-term safety and stability of your installation.
Locating the Ideal Spot
Identifying the optimal location for your mini-split is paramount. Consider factors such as shade, exposure to the elements, and accessibility for maintenance. Placing the unit strategically can enhance its efficiency and lifespan while minimizing potential issues.
Necessary Tools and Equipment
To embark on a successful mini-split installation on your roof, gather the following tools and equipment:
- Power Drill: For creating holes for mounting brackets.
- Level: Ensures the unit is installed evenly.
- Wrench Set: Necessary for tightening nuts and bolts securely.
- Sealant: Guards against water leaks and ensures a weather-tight seal.
- Safety Gear: Including gloves, safety glasses, and a sturdy ladder.
Installation Process
Step 1: Roof Preparation
Before installing the mini-split, ensure the roof surface is clean and free from debris. This prevents potential damage to the unit and ensures a secure connection.
Step 2: Mounting the Brackets
Securely mount the brackets to the roof using the power drill and appropriate screws. Ensure they are level and tightly fastened to provide a stable foundation for the mini-split unit.
Step 3: Connecting the Refrigerant Lines
Carefully connect the refrigerant lines, following the manufacturer’s guidelines precisely. Any deviation from the recommended procedure may compromise the efficiency and lifespan of the system.
Step 4: Securing the Unit
Gently lift the mini-split unit onto the mounted brackets, ensuring it is level and secure. Double-check all connections and fastenings to guarantee stability.
Safety Considerations
Electrical Safety
When dealing with electrical components, safety is paramount. Always turn off the power before initiating any electrical connections, and if unsure, consult with a qualified electrician.
Weather Precautions
Keep an eye on the weather forecast. Avoid installation during adverse weather conditions to ensure the safety of both the installer and the equipment.
Regular Maintenance Tips
To prolong the life of your rooftop mini-split system, adhere to these maintenance practices:
- Clean Regularly: Remove debris and dust to maintain optimal performance.
- Check for Leaks: Periodically inspect for refrigerant leaks and seal any identified areas promptly.
- Professional Inspection: Schedule annual inspections by a qualified technician to identify and address potential issues proactively.
Conclusion
In conclusion, installing a mini-split on your roof is a rewarding endeavor when approached with careful planning and execution. By following these top tips, you not only ensure a smooth installation process but also contribute to the longevity and efficiency of your mini-split system.